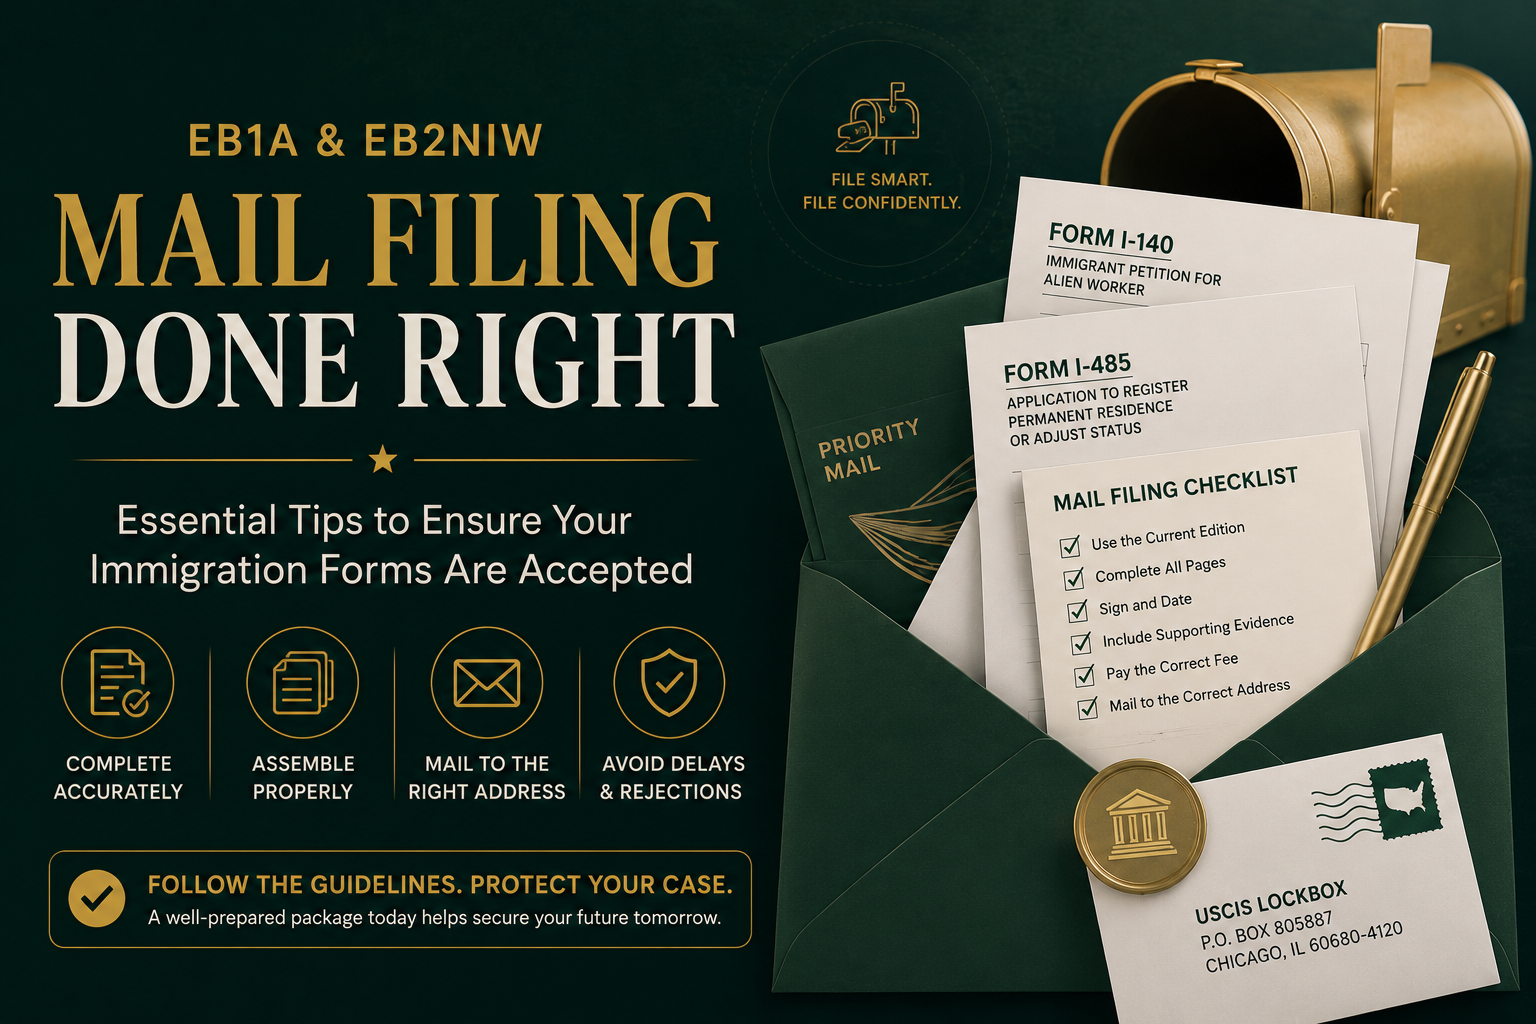
A strong petition can still be rejected before an officer reads a single argument. USCIS turns packages away for mechanical reasons: the wrong form edition, a missing signature, a combined payment, original documents sent where copies were expected. For a self-petitioner, a rejection is not a denial, but it costs you what you can least afford, which is time. You re-print, re-pay, re-mail, and wait again at the back of the queue.
EB-1A (Extraordinary Ability) and EB-2 NIW (National Interest Waiver) are both filed on Form I-140, Immigrant Petition for Alien Worker. As a self-petitioner, you sign and submit it yourself, with no employer and no attorney required to be listed. That independence is the whole point of these categories. It also means the assembly is yours to get right. Here is how USCIS expects an I-140 package to be built and mailed, based on its current filing guidance.
Start With the Form Itself
Before you assemble anything, the I-140 has to be completed the way USCIS can actually read and process it.
- Use the current edition. Download Form I-140 directly from the USCIS website and confirm the edition date and page numbers are visible at the bottom of every printed page. Every page must come from the same edition. A package mixing editions, or missing pages, can be rejected.
- Do not print from the online filing system. If you fill out a form inside the USCIS online account and print it to mail, USCIS will reject it. The print-and-mail version and the online-filing version are not interchangeable. Use the downloadable PDF for a mail filing.
- Type or write cleanly. For typed answers, USCIS asks for Courier New, size 10, bold. For handwritten answers, black ink only. No highlighters, correction fluid, or correction tape, because the grayscale scanners will not read corrected or highlighted text. If you make a mistake, start the page over.
- Complete every part unless the form tells you to skip an item, and sign it. An unsigned I-140 is returned automatically.
- Pay the correct fee. Incorrect or incomplete fees trigger rejection. Confirm the current amount using the USCIS Fee Calculator before you mail, since fees change.
Assemble the Package in This Order
USCIS recommends a specific top-to-bottom order. Following it helps your package route correctly instead of stalling.
- Payment authorization form if you are paying by card or ACH: Form G-1450 (credit card), G-1650 (ACH), or G-1651 (paper fee exemption).
- Form G-1145, Request for e-Notification, if you want a text or email confirmation that USCIS accepted your filing. Optional, but useful.
- Form G-28, only if an attorney or accredited representative is formally representing you. Most self-petitioners skip this.
- Form I-140, the petition itself.
- Any form supplements that apply.
- Supporting documentation, meaning your evidence.
If you are also requesting premium processing, include one Form I-907 for the I-140. One I-907 per eligible form, not one per package.
How to Handle Your Supporting Evidence
For EB-1A and NIW petitions, the evidence is the case. Letters, publications, citation records, awards, degrees, media coverage, contracts. The rules for how that evidence arrives matter as much as what it proves.
- Send copies, not originals. Do not mail original diplomas, award certificates, or original photos unless the instructions specifically request them. USCIS may destroy unrequested originals under federal records rules and will not automatically return them.
- Translate everything that is not in English. Any foreign-language document needs a complete English translation plus a signed certification from the translator stating they are competent to translate and that the translation is accurate.
- Submit legible copies. No blurry, faded, skewed, or cut-off pages. Anything obscured by a fold or a bad scan can be treated as unreadable.
- Use single-sided, 8.5 x 11 letter-size pages. No double-sided printing.
- Skip the presentation. No digital media, photo albums, scrapbooks, or binders. USCIS cannot process those and will return them. A clean, paginated paper package is what works.
- Number your pages if it helps, for example “page 1 of 11,” and put your name on any photos.
If you realize after mailing that you left something out, do not send it separately to the lockbox. Either upload it through your online account if you can link the paper case, or hold it until USCIS requests it.
What Not to Put in the Envelope
- No binders or folders that cannot be easily taken apart.
- No heavy-duty staples.
- No RFE responses. If you receive a Request for Evidence, follow the address in the RFE itself, not the lockbox.
- No unrelated petitions. If you are filing more than one benefit request, keep unrelated forms in separate envelopes so a problem with one cannot sink the other.
If You Are Filing More Than One Form
Pay each filing fee separately. When a single combined payment covers multiple applications and one of them is defective, USCIS may reject the entire package. Separate payments let the clean filing through while only the flawed one bounces. Use the same payment method within a single benefit request, and do not mix methods.
Mail It to the Right Place
This is where avoidable rejections happen. There is no single I-140 address. USCIS routes your package to a specific lockbox based on where the beneficiary will work and what you are filing alongside the I-140, and the USPS P.O. Box differs from the courier street address even at the same lockbox. Send it to the wrong place and it comes back as improperly filed. Look up the correct address for your exact situation on the official USCIS page, Direct Filing Addresses for Form I-140, and confirm it on the day you mail, since these addresses change.
- Use the complete address, including the “Attn:” line. That line is what routes your petition to the correct unit inside the lockbox.
- Match the address to your shipping method. The USPS P.O. Box and the FedEx/UPS/DHL street address are not interchangeable, even at the same lockbox.
- Mark the envelope and your cover letter with the submission type and form number, for example “Form I-140.”
- Choose your courier. USPS, FedEx, DHL, and UPS are all acceptable. Keep a copy of your payment form and the tracking number so you can confirm delivery.
- FedEx users, read this: USCIS lockboxes cannot accept packages sent with “Adult Signature Required.” If you want delivery confirmation, use FedEx’s “Direct Signature Required” option instead.
The Short Version
Most rejections at this stage come from a handful of repeat mistakes: outdated form edition, an unsigned form, a printed online-only form, originals sent instead of copies, untranslated documents, a combined payment, or the wrong mailing address. Build the package in the recommended order, send legible copies on letter-size paper, pay each fee separately and correctly, and mail it to the exact address on the form’s webpage with the Attn line intact. Do that, and your petition reaches an officer’s desk intact, which is the only place your evidence can do its work.
Make sure the case is built before you mail it
Assembly is the last step. The petition letter, the recommendation letters, and the evidence framing are what decide the outcome. If you want your EB-1A or EB-2 NIW case reviewed before it goes out the door, book a consultation with our team.
This content is general information about USCIS filing procedures and is not legal advice. Form editions, fees, and mailing addresses change. Always confirm the current requirements on the official USCIS website for your specific form and category before filing.